The camera is much more sensitive to skin defects than the human eye. Therefore, it is primarily necessary to even out the skin tone and cover any blemishes: under-eye circles, inflammation, wrinkles, signs of fatigue, etc. The proper bases for makeup are foundations and concealers, and those who use facial contouring can use contour and highlighter sticks/powders.
Call us 713-560-7859
Today, I’d like to raise a critical topic - one regarding makeup for a business photo shoot.
This article will be useful for those who want to prepare for the shoot by themselves and save some money on a makeup artist by doing their makeup themselves.
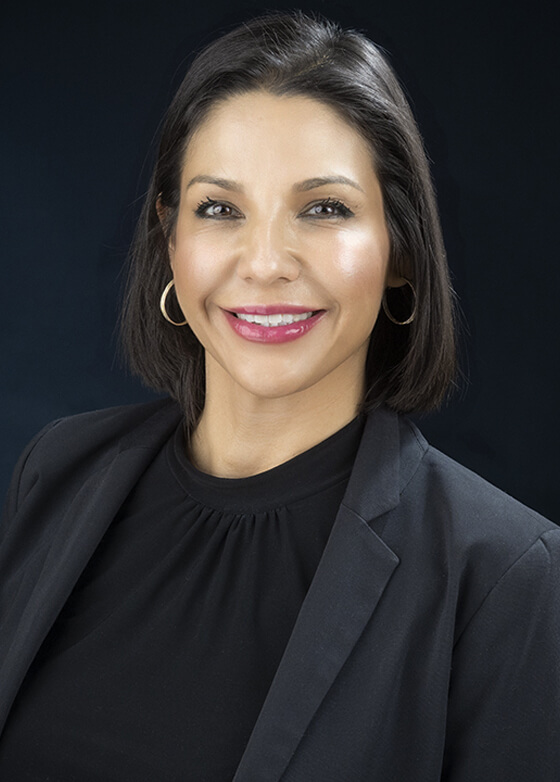
For a business portrait, you need to do the most neutral makeup; avoid aggressive colors and shadows. Often, it turns out that minimal foundation and lipstick is enough.
If necessary, almost any kind of makeup can be added when retouching photos.
For a business portrait, you need to do the most neutral makeup; avoid aggressive colors and shadows. Often, it turns out that minimal foundation and lipstick is enough.
If necessary, almost any kind of makeup can be added when retouching photos.


First of all, you should prepare for makeup a few days before the photo shoot:
- make eyebrow corrections (waxing, threading, trimming, etc.)
- use toning face masks
- take care of lips, eyelids, etc. (emollient care – lip scrubs, chapstick, and various creams)
- perform facial skin cleansing procedures (often, professional facial cleanings leave the face reddish and spotty for a few days, an effect you want to avoid the day of your shoot)

Skin makeup
Foundation should ideally fit all open parts of your body in tone. The texture should not be too liquid (transparent). Use concealers to mask any imperfections.
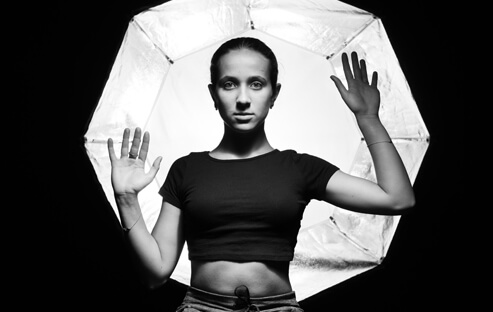
At the end, it is advisable to use loose powder – it is lighter in texture than compact powder but has the same matte effect. Make sure to use enough to prevent a shiny or oily appearance of the face, as this is usually not preferable. Parts of the face that can “shine: are as follows: the cheekbones, the center of the eyelid, the eyebrow space (under the tail of the eyebrow), and the lips. Everything else must be matte in appearance.
At the end, it is advisable to use loose powder – it is lighter in texture than compact powder but has the same matte effect. Make sure to use enough to prevent a shiny or oily appearance of the face, as this is usually not preferable. Parts of the face that can “shine: are as follows: the cheekbones, the center of the eyelid, the eyebrow space (under the tail of the eyebrow), and the lips. Everything else must be matte in appearance.

Eye & Eyebrow Makeup
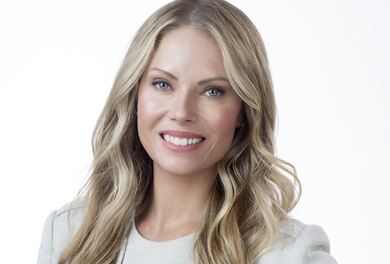
In terms of portrait photography (as well as most shots involving a single person as the center of attention), the eyes are the main element. Therefore, they must be made expressive. Always apply the darkest color of eyeshadow to the outer corner of the eye, shading the crease, and the lightest shade to the inner corner and under the eyebrow.
Ideally, at least three colors should be applied so that the eyes do not appear “flat” in the picture. You need good mascara to emphasize the look – eyeliner is optional, depending on personal preference. Do not forget about the theory of contrasting colors; if your eyes are tired and reddened, green eyeshadow will only highlight those qualities. These principles can also be used when you want to emphasize eye color - apply contrasting shades in moderation. For example, someone with green or blue eyes might want to use dimmed shades of pink and orange, while someone with brown eyes might go for blue or green.
Lastly, you should never use multiple contrasting colors in eyeshadow, as it usually makes the look appear messy.
What is the difference between everyday makeup and makeup for taking pictures? For the latter, the colors should be applied a little brighter than usual, as the photo “eats up” some of the colors, but the blending should be perfectly smooth and symmetrical. Also, do not use eyeshadow with glitter - the photo does not convey their brilliance as in life, and making a correction in Photoshop becomes problematic.
For eyebrow makeup, choose the color that is closest to the shade of your hair. It’s up to you to use powders, pencils, or gels - the only thing that can be noted is that it is much more difficult to “overdo it” with shadows than with a pencil.
Lip makeup
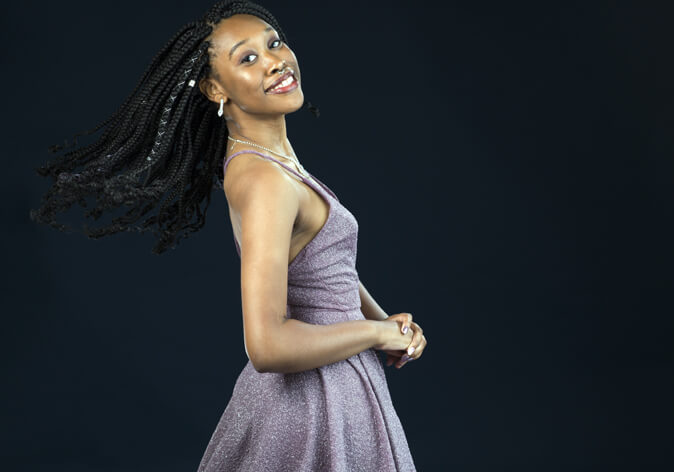
Lip makeup is a much simpler question than eye makeup, although it is this that becomes fatal for most shots. Most often, women’s main mistake is too bright and shiny of a shade, although there is a very simple rule in this regard. If you have light skin, make your lips look slightly darker than natural; if you have dark skin, make them a bit lighter.
Lipsticks of extreme colors, such as hot pink, are best avoided if you do not want to create an extravagant image, which must be thought through much more carefully. Cheekbones can be blushed - for this, choose shades that are close to the color of your lips. The main thing is not to put on too much. In photos, makeup becomes clearer, and so any excess can ruin the effect.
A critical point is never to play with contrasts. If you accent your eyes, color your lips more modestly, and vice versa, all while trying to choose harmonious shades. If we are not talking about art photography but about a classic portfolio, your lips should be soft, warm, and natural, but a little bit brighter than in real life.
Most importantly, I can enhance any makeup in Photoshop, and even add digital makeup, but no retoucher can properly weaken bright, heavy make-up.
Summing up the article, I would like to highlight the main aspects:
- Do the same makeup as you would for a formal business dinner, as comfortable as possible for you;
- Do not use heavy and glittery makeup;
- Do not be afraid of foundation - a dense layer does not look as bad in the photo as in life, and if you know how, you can contour;
- Be sure to use face powder and take it with you to the shoot.

 Business portraits for your benefitProfessional photography, business portrait, resume, photographe, success
SUBSCRIBE FOR THIS BLOG