If you don’t set the focus point yourself, the phone will choose which area of the scene to focus on. It may focus on your intended subject, but it won’t always get it right. So it’s best to set the focus yourself.
Call us 713-560-7859
Real estate photography tips: smartphone photography guide
Before I start shooting, I walk around the house to decide what and how I need to photograph, I determine how much light is available in different rooms, choose the best shooting point. Then I get rid of distractions: trash cans, open cabinets, TV remotes, paperwork, clothes. I plump up sofa cushions and straighten bed covers, curtains, and blinds.
Turning on all the lights helps make rooms look inviting and warmer and illuminates shadows.
Make a shot plan
I usually follow a detailed plan, so I don’t forget any essential shots. In each room, I take a shot from each corner. Then I start focusing on the unique details of the space.
Key Shots
It is important to remember that houses are split into 6 to 12 areas. The main shots of any home are:
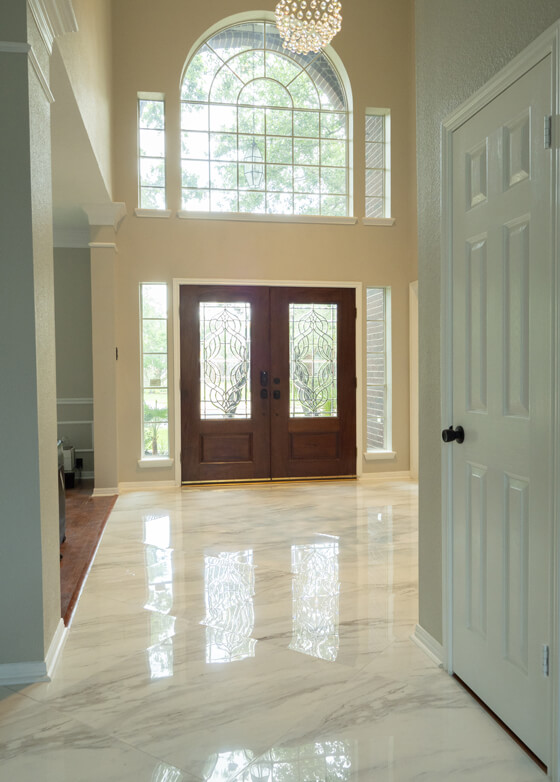
• Front exterior
• Rear exterior
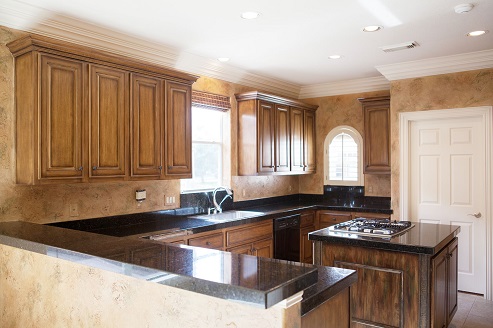
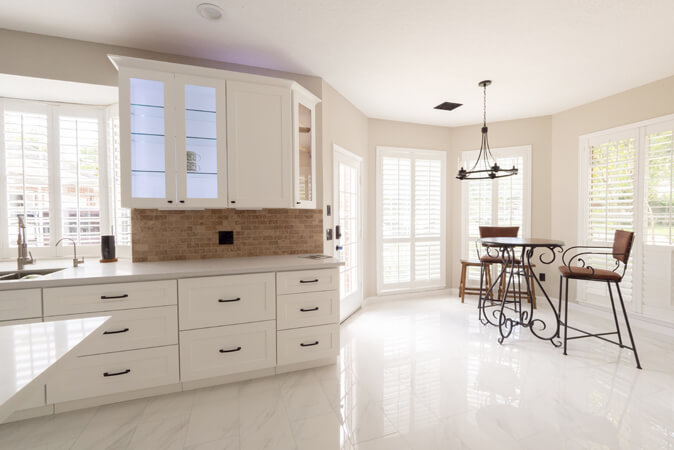
• Kitchen
• Living room
• Dining room
• Media room
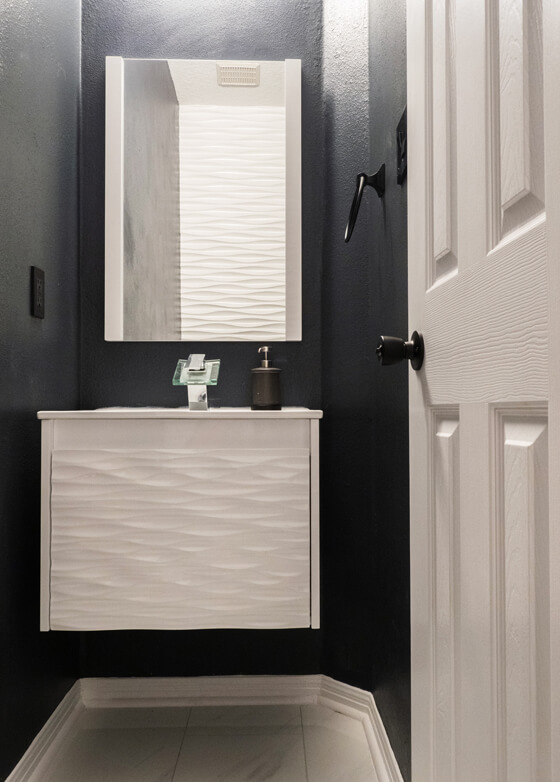
• Largest bathroom
• Master bedroom
• Patio
• Balcony
• Pool and spa area
• Rear exterior
• Kitchen
• Living room
• Dining room
• Media room
• Largest bathroom
• Master bedroom
• Patio
• Balcony
• Pool and spa area
If possible include shops, cafes, walking tracks, parks, sporting fields, beaches, lakes or mountain viewpoints, any local tourist destinations in your shots to make them more appealing.
Composition
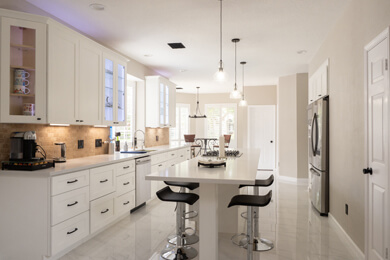
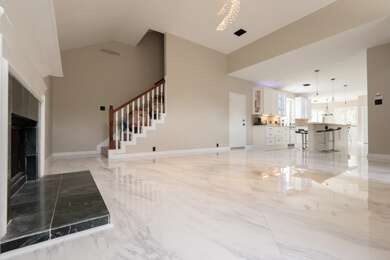
Your photos should show the relationships between rooms and large elements of the house. For example, a photo showing an island or dividing counter and the room beyond gives the potential tenant/buyer a better idea of the actual feel of the living space.
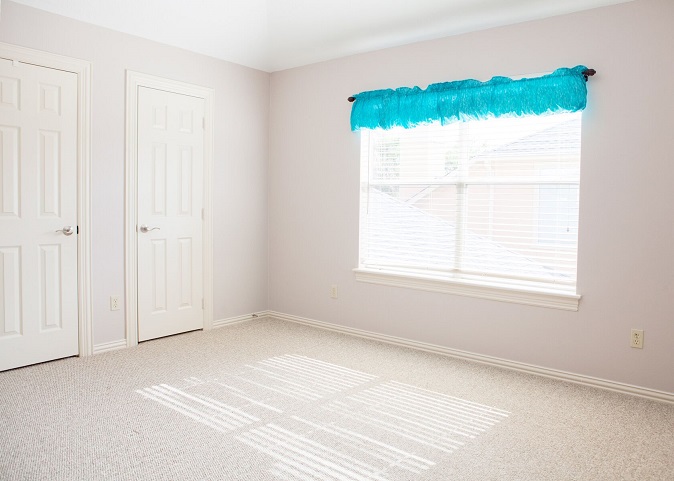
Walk around the room and identify the best view points. Often these are corners of the room.
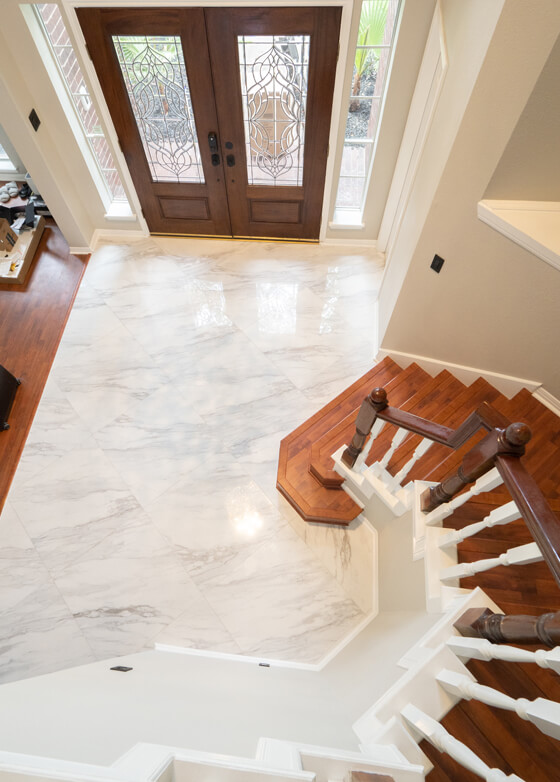
Shooting from corners of the room will allow you to make the space look as large as possible and help the viewer better estimate the size of the room. It works especially well for small rooms. You can also achieve this effect by shooting from the doorway. Just make sure that three walls are in the frame.
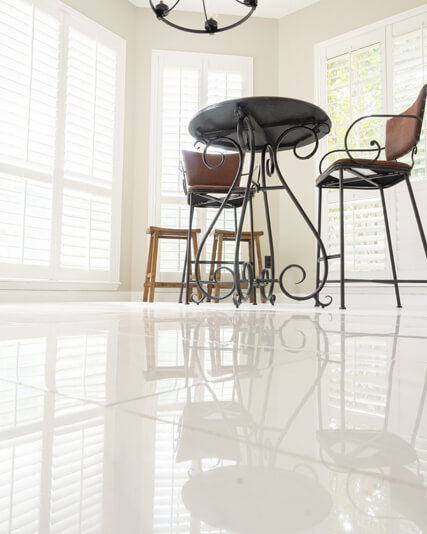
Show the transitions from one area to another in one frame - from the kitchen to the living room or from the bedroom to the bathroom and so on. Such photos look more engaging and help illustrate how the rooms connect. Shoot from different perspectives to show the true scope of the rooms.
Always photograph a room from several viewpoints. This ensures you can review your images later and choose which perspective works best.
Vertical lines
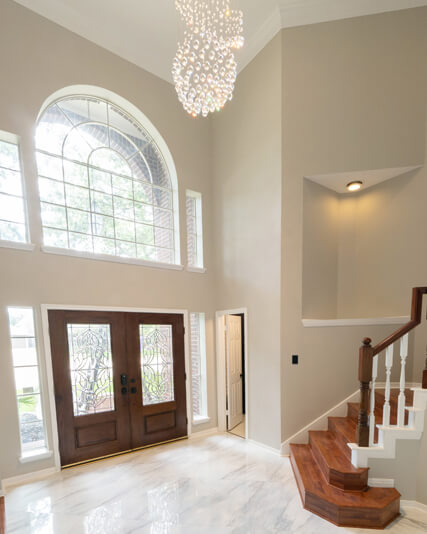
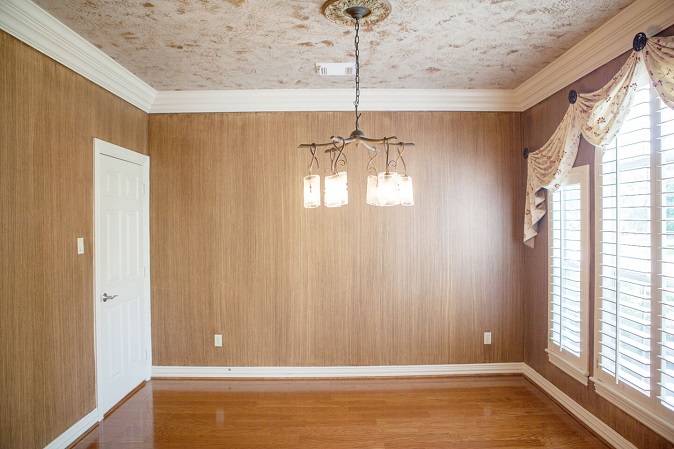
There are certain key rules when it comes to real-estate photography. Firstly, all your vertical lines should be vertical. Meaning parallel and level. These are edges and corners of walls, door frames, and windows that have vertical sides and these edges need to truly be vertical.
This is achieved by aiming your camera perfectly horizontal. To minimize the distortion, hold your camera straight. Aiming slightly up or down will result in converging verticals.
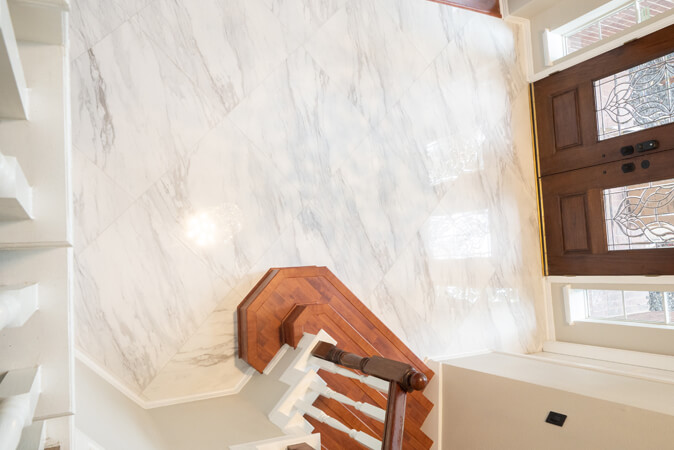
There are exceptions to this rule. For example, when photographing a stairwell, or shooting a room from a higher level you will need to tilt the camera up or down. Similarly, you may find that you have no option but to aim your camera upwards when photographing the exterior of the property.
Keep in mind that rooms can look different depending on the level that you photograph at, so vary the height when taking pictures. This is especially important in areas like bedrooms, kitchen, dining area & view from the balcony.
The best height varies from room to room and really depends on where the contents of the room are. For instance, if your objects are from floor to ceiling, it might make sense to shoot from chest height, however, where objects are lower, shoot below the hip!
The key is to fill the image with the room's contents, not negative space.
I generally try to avoid composing something large in the foreground that prevents the eye from flowing through the room.
FOCUS/EXPOSURE
First you need to adjust the lighting before you start taking photos. Tap on the point somewhere between the darkest and lightest areas in the room to find the right light balance.
When you tap to set focus, the camera sets the exposure based on the area that you tap on.
But you might not always want the focus point to define the exposure.
But you might not always want the focus point to define the exposure.
To adjust exposure after setting the focus point use the exposure slider that appears next to the focus point. Swipe up to make thewa image brighter or down to make it darker.
Recommendations
Never use camera flash — the images just don't come out right.
Plenty of room and lots of natural light are highly sought-after qualities among home buyers.
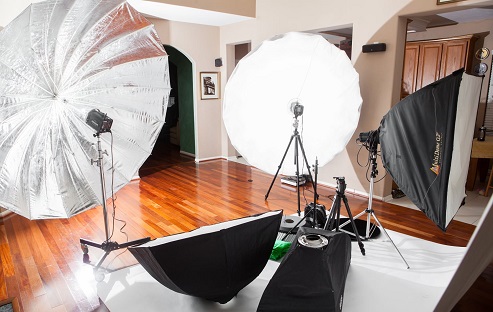
So invest in additional lighting and a wide lens for your smartphone.
So invest in additional lighting and a wide lens for your smartphone.

Since windows play a significant role in the buyer’s decision-making process, so you want to include them into the shots. But when you shoot them straight on, you end up with an overexposed photo that looks like a big blob of light. Shoot from the corner to show the window and how it brightens the room.
How to achieve good lighting in the picture
Achieving the perfect exposure is challenging in interior photography. Especially when there’s a bright light coming from the window.
How to deal with it?
- Shoot in the morning or a few hours before dusk when outdoor light isn’t harsh. An alternative option is photographing on an overcast day. Open all windows and turn on all lights before taking your images.
- Overcast days are perfect for property photography, they make it easier for photo editing. Sunlight naturally makes the rooms look warmer and cozier and makes surfaces naturally glisten.
- If you regularly find yourself needing additional light, consider buying an LED light – the constant light makes it easier for you to adjust camera settings.
HDR mode
HDR photography is common among professional real estate photographers and ideal for high contrast scenes. For example, when you have a bright sky and a dark foreground.
This is one of the most useful settings in the phone camera for creating properly exposed photos. It helps make the dark areas lighter and makes blown out windows visible because they are properly exposed.
Try to always use HDR setting (high dynamic range). To activate HDR, tap HDR in the camera app in the upper right corner of the screen. It works well on its own, but using a tripod along with this technique will give you a sharper image.
TRIPOD
Always keep your shots steady, to avoid blurriness. There are hundreds of good Smartphone tripods available on eBay or Amazon.
WIDE LENS and vertical PANORAMA
Using a wide-angle camera lens allows for wider shots that give a better sense of depth. It also makes small spaces appear bigger. If you stand in a corner and shoot with wide angle, you can capture both walls.
You can use the panorama mode instead if you have this option on your phone. Hold your phone in a vertical orientation, then tap the shutter button. Move your phone across the scene in the direction of the arrow to capture your panorama.

SUBSCRIBE FOR THIS BLOG