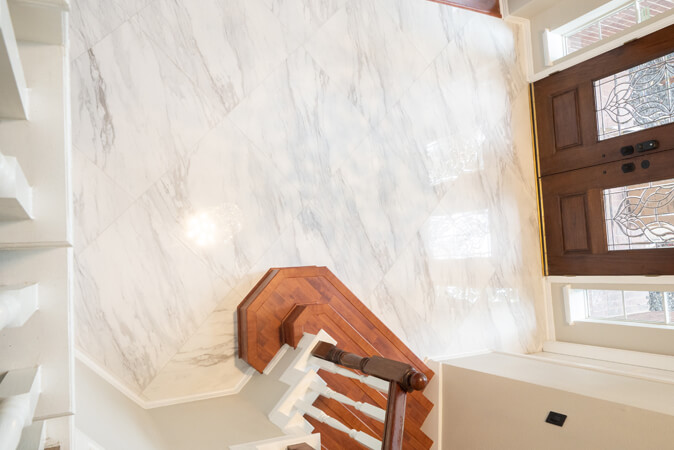
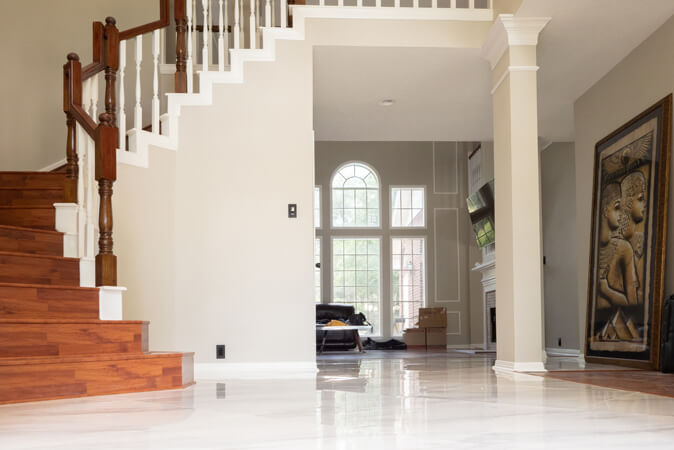
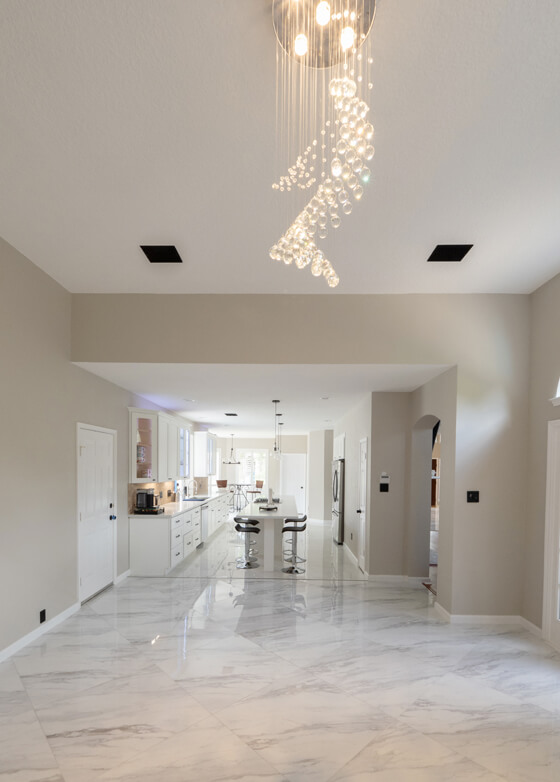
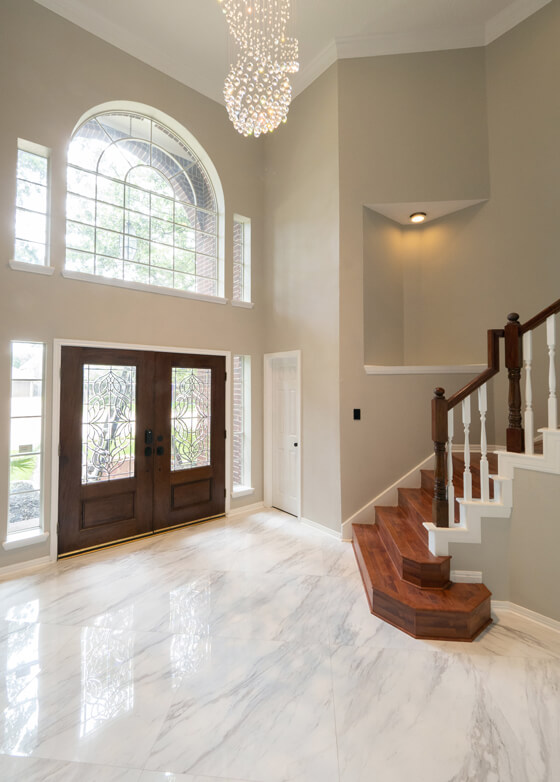
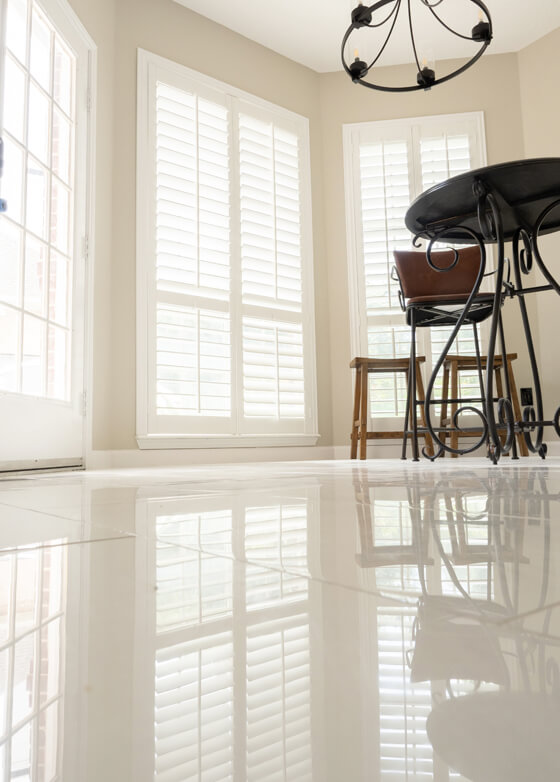
Most of the pictures in real estate photography are shot in the horizontal orientation. However, there are some situations when you will need to opt for a vertical orientation. For example, when you need to show the transition between the floors, when the room is too narrow, or when you want to highlight some details.
Call us 713-560-7859
How to photograph real estate interiors
When you get commissioned to photograph luxury real estate, you should not take this job lightly. It’s well known that quality photos will guarantee interest in your offer and increase the chances of making a sell. Your goal is not only to make the viewer familiar with the design of the apartment, but also to create images that are both attractive and enticing.
This guide is aimed to help realtors who are just starting out with the interior photography. Below I list simple techniques that require minimum gear and which you can start using today.
What to shoot with
You can achieve great results by selecting the appropriate photographic equipment. The optimal option will be a mirror camera with a wide-angle lens, tripod, and flash. Good news: you don’t even need to buy any of this stuff. Renting the equipment will be so much cheaper. You don't need to buy any gear unless you are going to photograph on a regular basis.
- It is vital to use a wide-angle lens to fit the maximum amount of space into one frame. Choose the focal length between 16mm and 24mm.
- Use a tripod to avoid camera shake and ensure straight horizontals. Using a tripod allows you to shoot on all planes comfortably (chest level, eye level, knee level) which gives you the higher versatility to show off a room or house at its best angle.
- Use at least one flash. When you are only starting to learn interior photography techniques, one additional light source will suffice.
If you know a thing or two about photography, then you can take photos with the phone. There are some basic rules for phone photography that apply to interior shooting.
- Do not use flash;
- Do not use zoom;
- Use HDR setting (High Dynamic Range) if possible.
- If you don’t have a tripod, fix the phone on a stable surface (table, cabinet) and use the self-timer function to avoid blurring the image.
- Set the resolution to the maximum.
- Do not use zoom;
- Use HDR setting (High Dynamic Range) if possible.
- If you don’t have a tripod, fix the phone on a stable surface (table, cabinet) and use the self-timer function to avoid blurring the image.
- Set the resolution to the maximum.
How to photograph
The primary technical task is to achieve a high depth of field, that is, to make sure that objects in the foreground as well as in the background are in focus. To achieve this effect with the phone, I advise you to focus on the center of the image and stay further away, preferably in the corner. To make the brightest image possible, tap the darkest spots on the screen. The camera will expose for the shadows thus increasing the luminosity of the picture.
When shooting with the camera, you need to set the appropriate settings. Reducing the aperture size will result in a sharper image, but will make the image darker. Instead of cranking up the ISO you will need to increase the length of the shutter speed to balance the exposure. More prolonged exposure means that any camera movement will be recorded, so you cannot take pictures handheld with such settings. Use a tripod to avoid blurring the image.

Shoot with “aperture priority” mode, and your camera will automatically calculate the shutter speed for proper exposure. To help it make the right calculations, focus on the inside of the room. This setup is especially useful in poorly lit interiors.
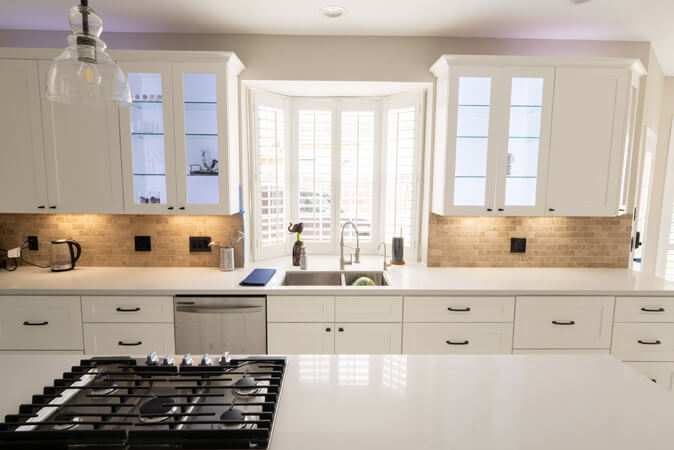
Most of the time, when you work with natural light coming from the window and expose for the room, the windows will appear washed out. But what if you also want to capture that beautiful view outside the window and make everything exposed properly? Using the flash to fill in the shadows will allow you to compensate the lack of lighting in the room. First, expose for the window, then add flash to match the exposure. Point it straight up at the ceiling to illuminate the room more evenly.
Protip: invest in a diffuser for your flash to achieve an even softer look. You can get one for $14.
What to photograph
The primary task is to find and show those ideas that the designer put into the interior. Try to answer the question, "what is special about this particular apartment?" You can always find different details and features that make any house unique and unlike any other. Maybe it's a beautiful light from a window at a particular time of the day, an unusual pattern of tiles on the floor, an original combined kitchen or a balcony with a panoramic view. Make a series of panoramic shots revealing the layout and the overall design as well as close-ups which you want to highlight.
When to photograph
The ideal time for the shooting is either at dusk or dawn when the brightness of the light outside matches the interior lighting.
If the windows of the house look out on the sunny side, then the optimal time for shooting in the summer season is from 7 to 11 am or from 4 to 7 pm.
In any case, it is better to avoid shooting when the sun is shining brightly into the window - otherwise, photographs will be over-exposed in the light, and the shadows will have higher contrast (as a result, there will be a lot of white and black spots in the frame). Shooting in cloudy weather, you can achieve a soft look and less harsh shadows.
You can shoot in the evening, but make sure that an apartment is well illuminated. Also, it is much more difficult to get a good shot by taking pictures on the phone in the dark.
What to do with the lighting
If there’s not enough light in the room, turn all the lights on and do not move them. The position of the light source carries a specific meaning, and your task is to convey this meaning. For example, there's an area in the house designated for reading with warm light. Or maybe there's an aquarium illuminated by cold light. Turn on those lights and show them. But remember that warm and cold light should not be mixed. If two light sources with different color temperature get mixed, it's better to light only one of them.
How to frame the shot
To minimize the distortion, hold your camera straight and raise it to your chest level. Make sure that all lines are parallel to each other.
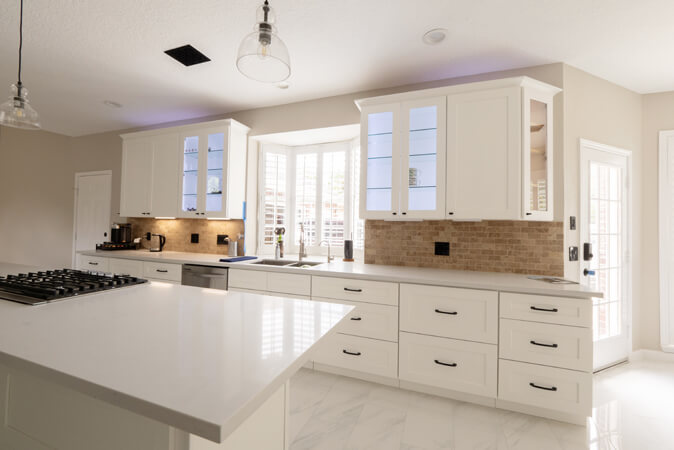
Shooting from corners of the room will allow you make the space look as large as possible and help the viewer better estimate the size of the room. It works especially well for small rooms. You can also achieve this effect by shooting from the doorway. Just make sure that three walls are in the frame.
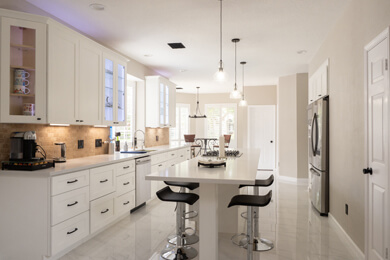
Try to arrange interesting objects on different planes in the frame. Make sure that there are objects in the foreground and in the background as well as in the middle of the frame. It will add visual depth and richness to the image.
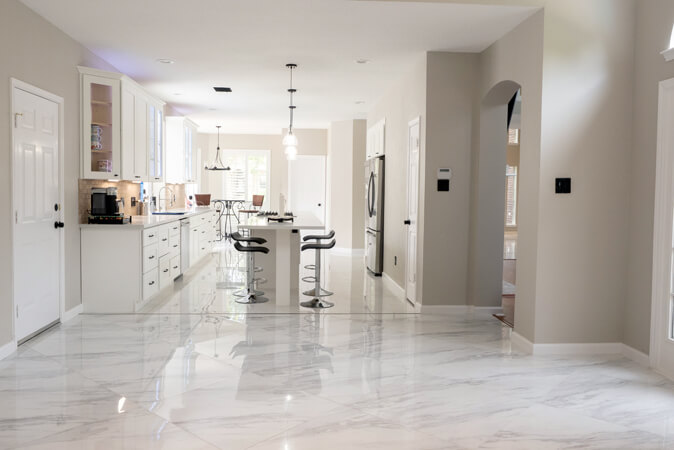
Show the transitions from one area to another in one frame - from the kitchen to the living room or from the bedroom to the bathroom and so on. Such photos look more engaging and help illustrate how the rooms connect. Shoot from different perspectives to show the true scope of the rooms.


SUBSCRIBE FOR THIS BLOG